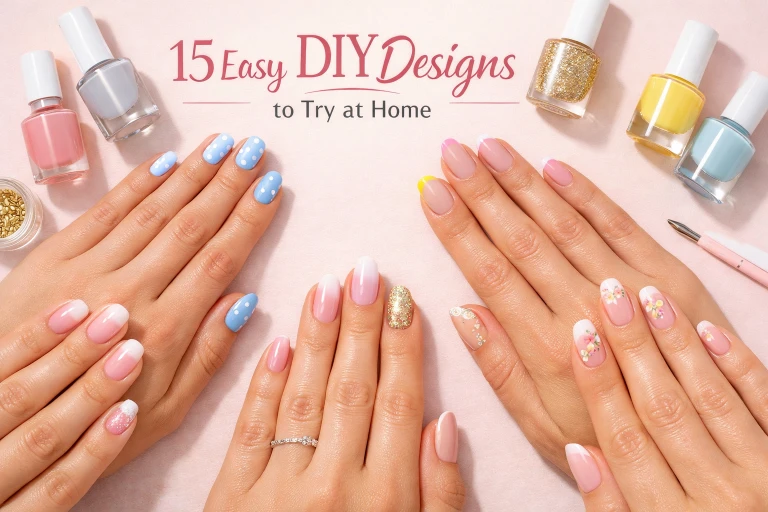
15 Beautiful DIY Nail Designs You Can Easily Do at Home
Doing your nails at home has never been more fun, creative, or budget-friendly. Whether you’re a beginner experimenting with nail art or someone who loves switching up styles regularly, DIY nail designs are a perfect way to express yourself without spending hours (or money) at a salon.
The best part? You don’t need professional tools or advanced skills. With a few basic supplies, a little patience, and the right inspiration, you can achieve stunning nails right from the comfort of your home.
In this guide, we’ll walk you through 15 beautiful DIY nail designs that are easy, trendy, and perfect for any occasion.
1. Classic Polka Dot Nails
Polka dots are one of the easiest nail designs to create and always look cute and timeless.
All you need is a base color and a contrasting polish for the dots. Use a toothpick, bobby pin, or dotting tool to create evenly spaced dots across your nails.
Pro Tip:
Stick to two colors for a clean look, or mix multiple colors for a playful vibe.

2. Minimalist Line Art Nails
Minimalist nails are trending—and for good reason. They look elegant and are super easy to achieve.
Apply a neutral base (like nude or light pink), then use a thin brush or toothpick to draw simple lines, waves, or geometric shapes.
Why it works:
Less effort, maximum sophistication.

3. French Tip with a Twist
The classic French manicure gets a modern update with bold colors or creative shapes.
Instead of the traditional white tip, try neon, pastel, or glitter tips. You can also experiment with diagonal or double French lines.
Beginner hack:
Use tape to guide your tip line for a clean finish.

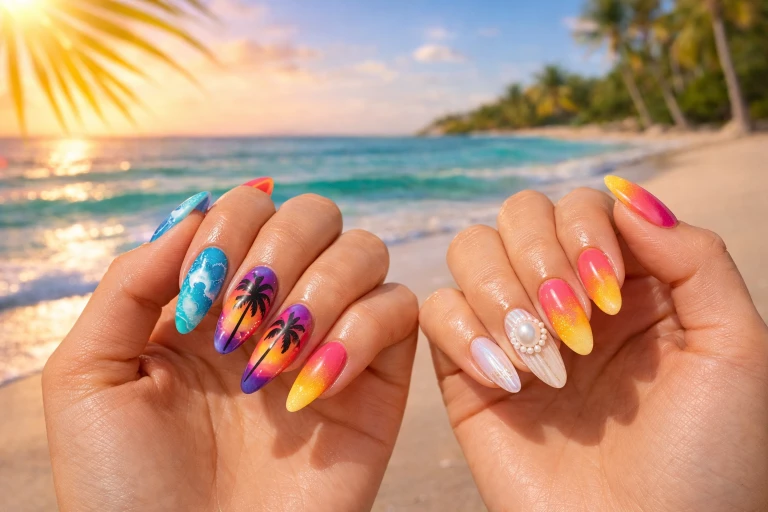
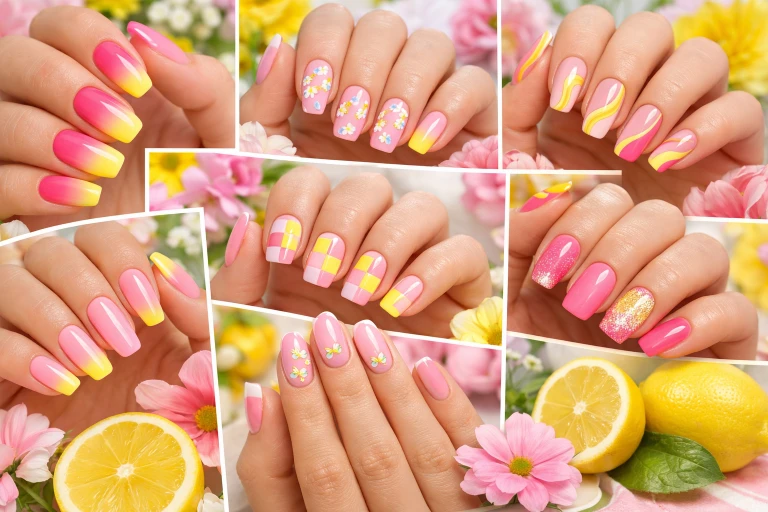
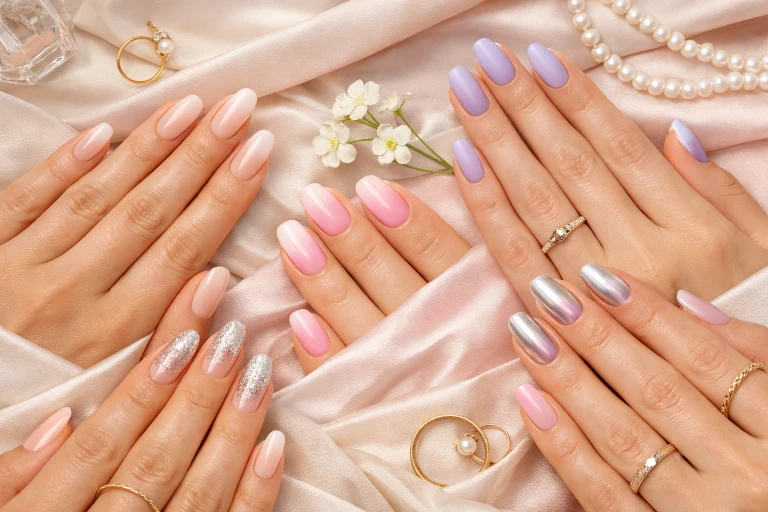
4. Ombre Gradient Nails
Ombre nails look professional but are surprisingly easy to create.
Use a makeup sponge to dab two or more colors onto your nails, blending them for a smooth gradient effect.
Best color combos:
- Pink + white
- Blue + purple
- Nude + gold

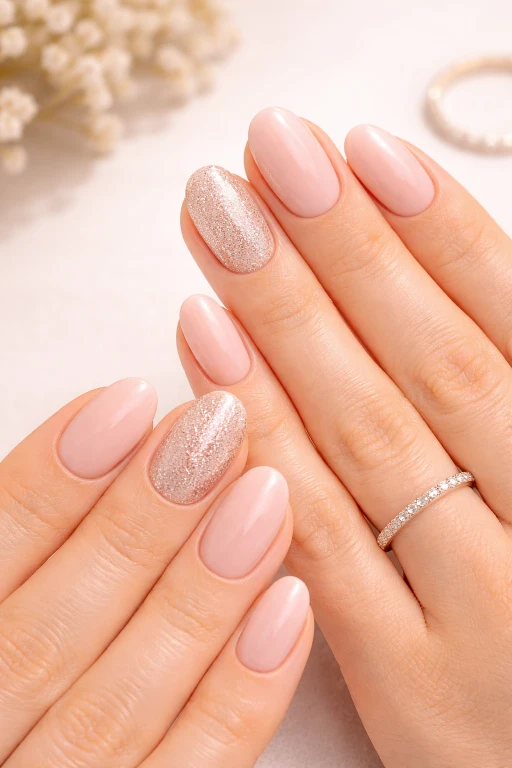
5. Glitter Accent Nails
If you want something eye-catching without too much effort, glitter nails are your best friend.
Paint all nails in a solid color and add glitter polish to one or two accent nails.
Style tip:
Use chunky glitter for bold looks or fine glitter for subtle shine.
6. Floral Nail Art
Floral designs are perfect for spring and summer but can be worn year-round with different color palettes.
Create small flowers using dots—five dots for petals and one in the center.
Easy method:
Use pastel shades for soft floral vibes or bright colors for a bold look.

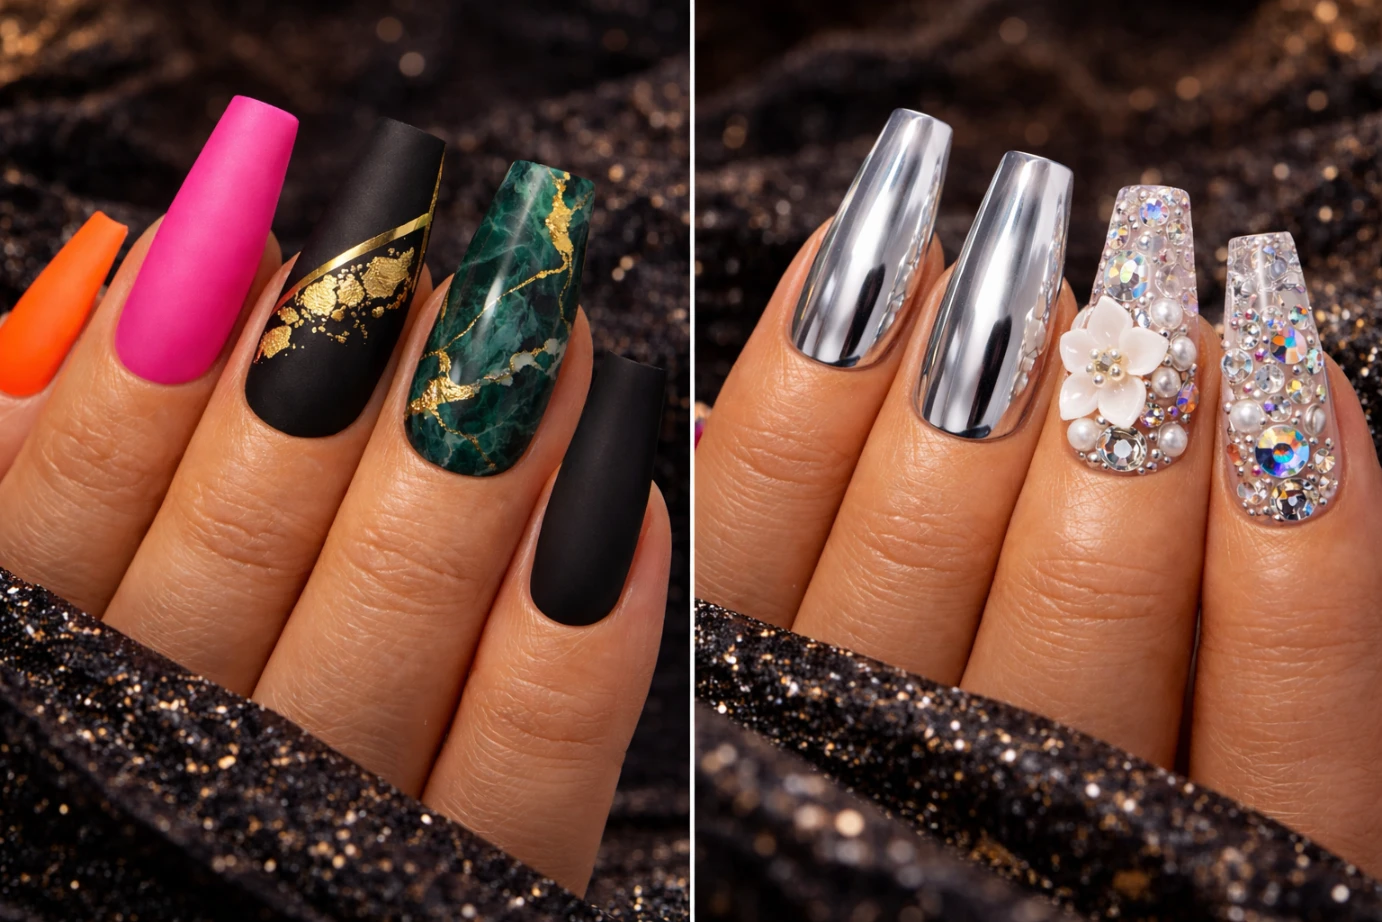
7. Marble Effect Nails
Marble nails give a luxurious, salon-like finish.
Apply a white base, then add small drops of gray or black polish. Use a toothpick to swirl the colors lightly.
Tip:
Don’t overmix—less swirling creates a more realistic marble effect.

8. Negative Space Nails
Negative space designs leave parts of your nail bare, creating a modern and edgy look.
Use tape to section off areas before applying polish.
Design ideas:
- Half-moon nails
- Diagonal color blocks
- Minimal cut-out shapes

9. Pastel Rainbow Nails
This design is cheerful, colorful, and incredibly simple.
Paint each nail a different pastel color—no art skills required.
Perfect for:
Spring, summer, or whenever you want a mood boost.

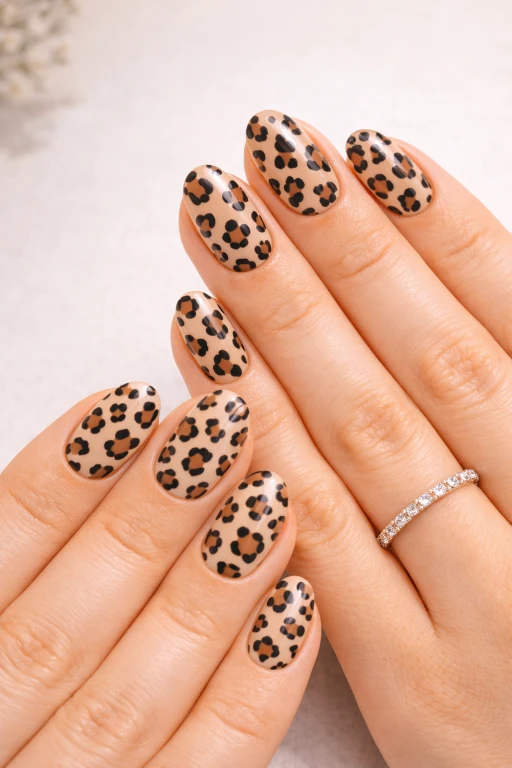
10. Animal Print Nails
Animal prints like leopard or zebra are bold yet easy to recreate.
For leopard print:
- Apply a neutral base
- Add random brown spots
- Outline them loosely with black
Tip:
Keep the shapes irregular—it looks more natural.
11. Matte Nails with Glossy Details
Mixing matte and glossy finishes creates a subtle yet stunning contrast.
Apply a matte top coat, then use glossy polish to draw designs like stripes or tips.
Why it stands out:
It’s simple but looks incredibly high-end.

12. Heart Accent Nails
Perfect for romantic vibes or special occasions like Valentine’s Day.
Use a dotting tool to create two dots and drag them together to form a heart shape.
Style tip:
Keep the rest of the nails simple to make the hearts pop.

13. Galaxy Nails
Galaxy nails look complex but can be achieved with sponging techniques.
Use dark polish as a base and dab on shades like purple, blue, and white. Add tiny white dots for stars.
Extra sparkle:
Add glitter for a cosmic finish.

14. Checkerboard Nails
This trendy design is all over social media right now.
Use a thin brush or tape to create small squares in alternating colors.
Color ideas:
- Black and white (classic)
- Pastel combinations (soft aesthetic)
- Neon shades (bold statement)

15. Nude Nails with Gold Foil
If you love subtle glam, this one’s for you.
Apply a nude base and add small pieces of gold foil randomly across the nail.
Result:
Elegant, minimal, and perfect for any occasion.

Essential Tools for DIY Nail Art
Before you start, make sure you have these basics:
- Nail polish (variety of colors)
- Base coat and top coat
- Toothpicks or dotting tools
- Nail tape or striping tape
- Small brushes or old eyeliner brushes
- Makeup sponge (for ombre designs)
You don’t need expensive tools—most designs can be done with everyday items!
Tips for a Perfect At-Home Manicure
To make your DIY nail designs last longer and look professional, follow these tips:
1. Prep Your Nails Properly
Clean, file, and shape your nails before applying polish.
2. Always Use a Base Coat
This protects your nails and helps polish last longer.
3. Apply Thin Layers
Thick coats take longer to dry and smudge easily.
4. Seal with a Top Coat
A good top coat adds shine and prevents chipping.
5. Be Patient
Let each layer dry before moving to the next step.
Final Thoughts
DIY nail art is more than just a beauty routine—it’s a creative outlet. With these 15 easy nail designs, you can experiment with styles, colors, and techniques without leaving your home.
Whether you prefer minimalist elegance, bold patterns, or glittery glam, there’s something here for everyone. Start simple, practice regularly, and soon you’ll be creating salon-worthy nails all on your own.